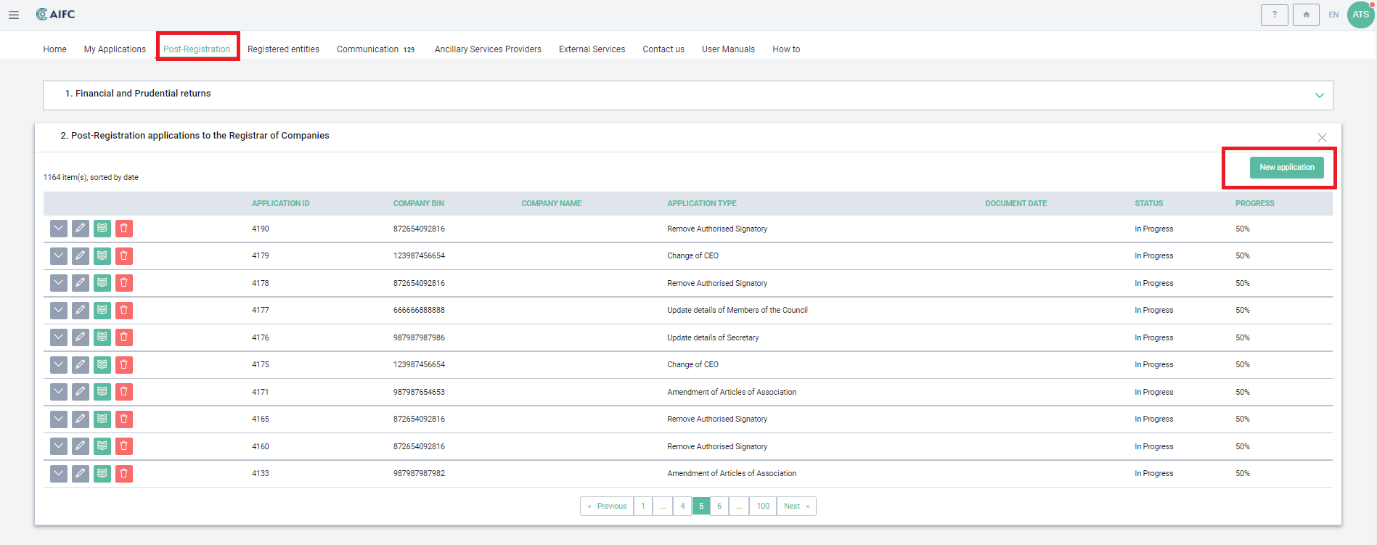
Step 1.
An Applicant logs into the AIFC Self-Service Portal, opens post-registration tab and presses the button ‘New Application’ to start the procedure of user verification.
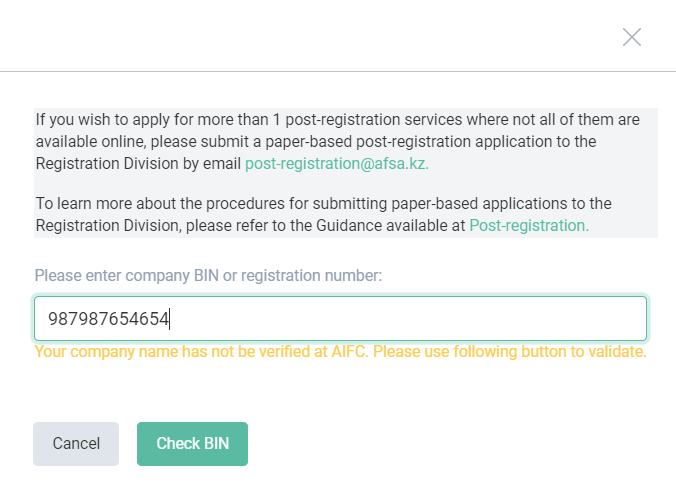
Step 2.
Applicant must review the instructions on submission of the offline & online post-registration applications. Applicant enters BIN of the registered entity and presses the button ‘Check BIN’.
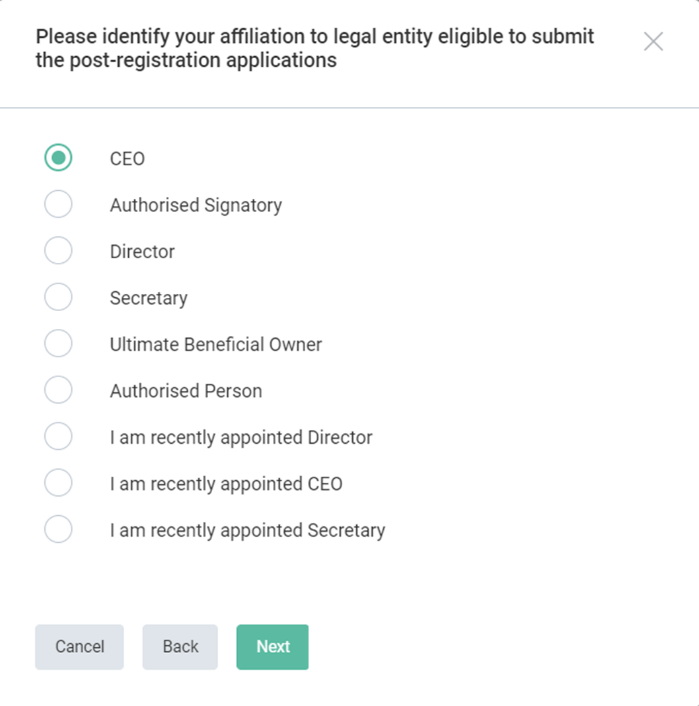
Step 3.
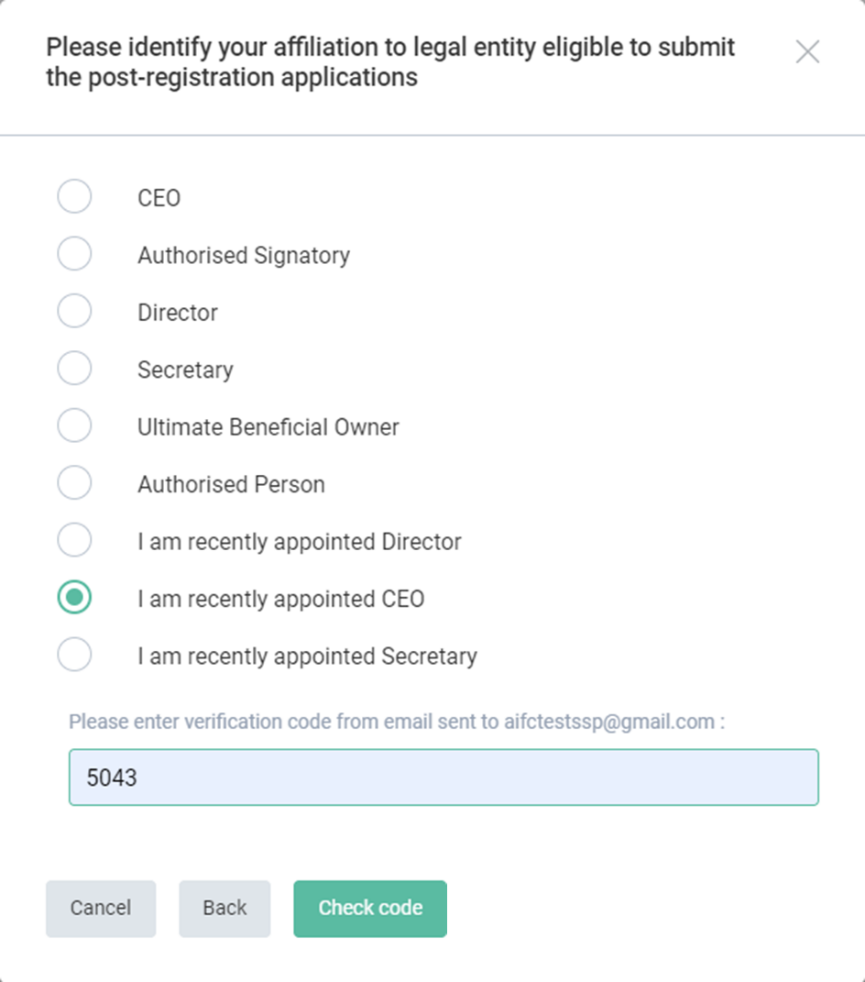
Applicant must identify his/her affiliation to the legal entity eligible to submit the post-registration applications and press the button “Next”.
Please note:
User verification process varies depending on the selected role’s affiliation to the registered entity.
Step 4.1 If Applicants selects CEO
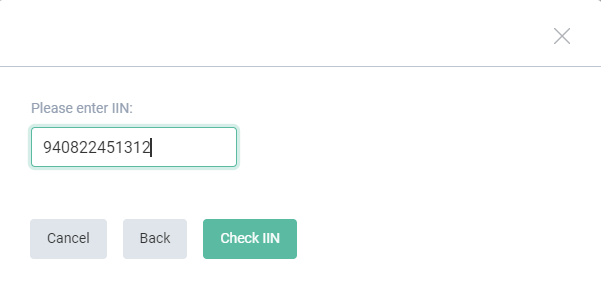
Applicant must enter Individual Identification Number (IIN) of the registered CEO and press the button “Check IIN”.
Applicant must enter verification code from email sent to the registered entity’s CEO and press the button “Check code”.

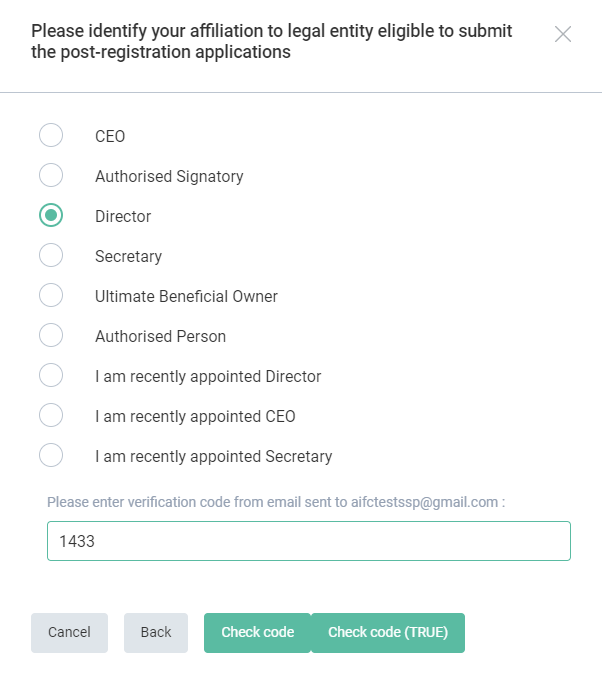
Step 4.2 If Applicants selects Director / Founding Member / Designated Members / General Partner / Member of the Council / Person authorised to accept services / Ordinary Member / Secretary / Authorised Signatory
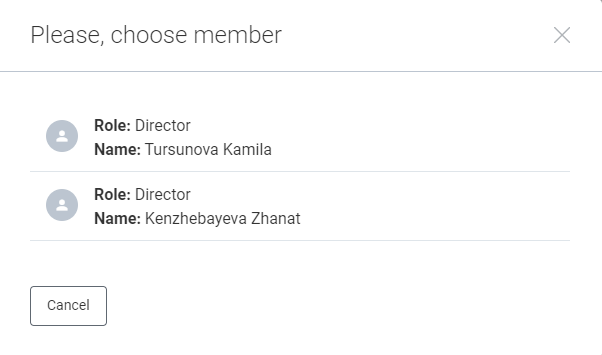
Applicant must select one of the registered entity’s roles authorised to grant access to post-registration services.

Applicant must enter verification code from email sent to the registered entity’s role and press the button “Check code”.
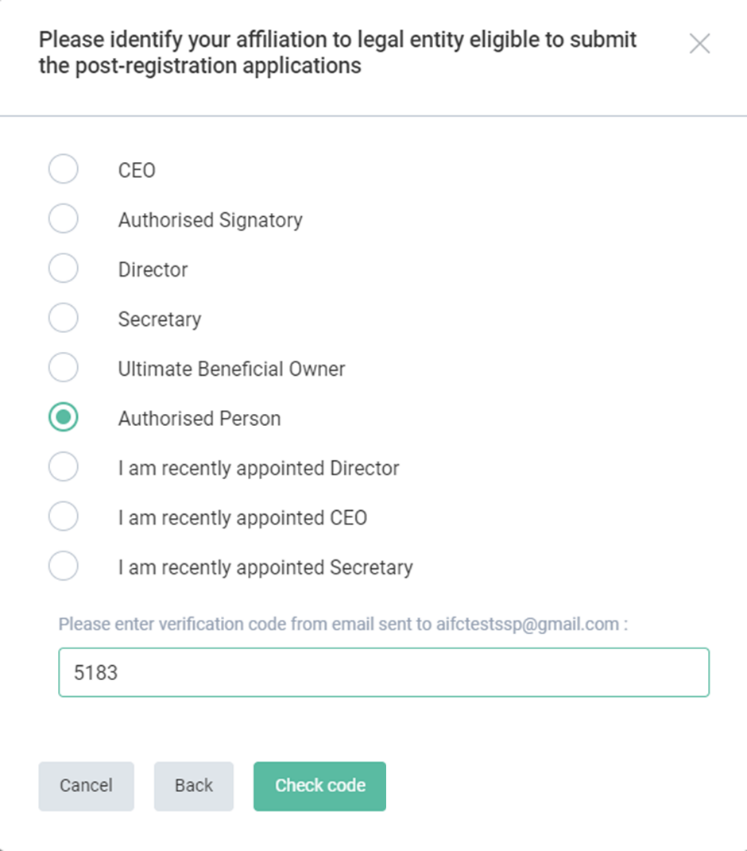
Step 4.3 If Applicants selects Authorised Person
Applicant is asked to proceed with KYC first
When the verification process is finished, the Applicant will be redirected to digitalresident.kz, the necessary data from Applicant's document will be extracted automatically.
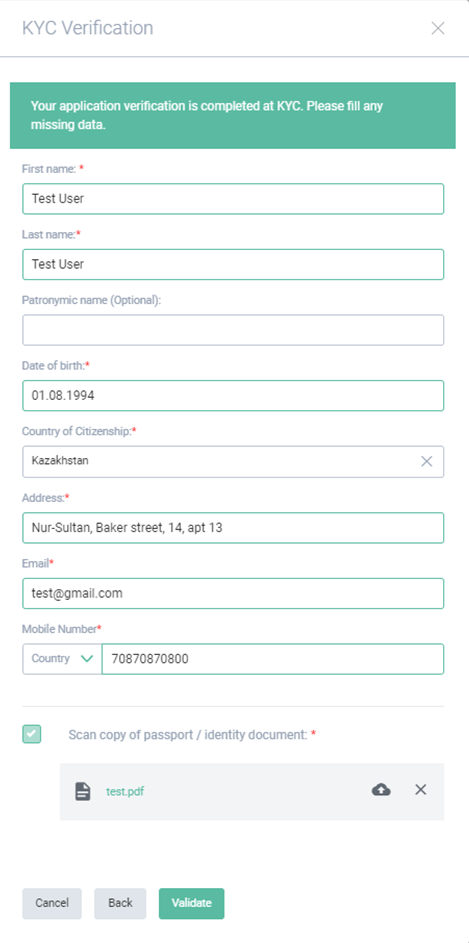
Applicant must upload scan copy of passport / identity document and press the button “Validate”
Applicant must select one of the registered entity’s roles authorised to grant access to post-registration services.

Applicant must enter verification code from email sent to the registered entity’s role and press the button “Check code”.
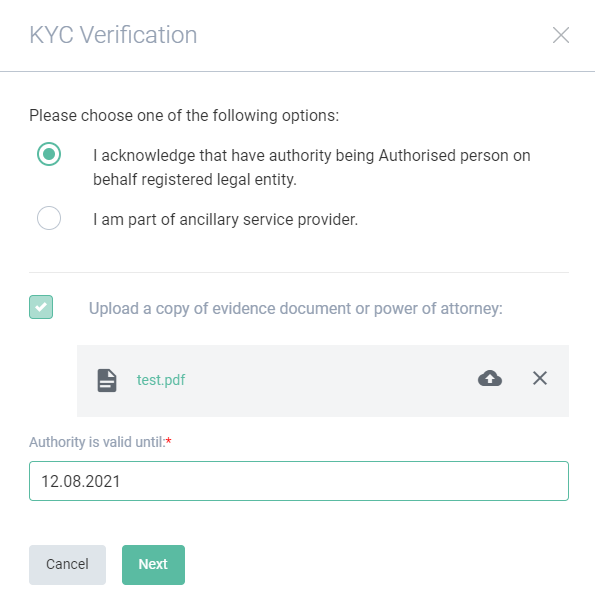
Applicant must select Authorised Person’s type, enter the required data, upload mandatory documents, and press the button “Next”.
Step 4.4 If Applicants selects I am recently appointed Role
Applicant is asked to proceed with KYC first
When the verification process is finished, the Applicant will be redirected to digitalresident.kz, the necessary data from Applicant's document will be extracted automatically

Applicant must upload scan copy of passport / identity document and press the button “Validate”.
Applicant must select one of the registered entity’s roles authorised to grant access to post-registration services.
Applicant must enter verification code from email sent to the registered entity’s role and press the button “Check code”.
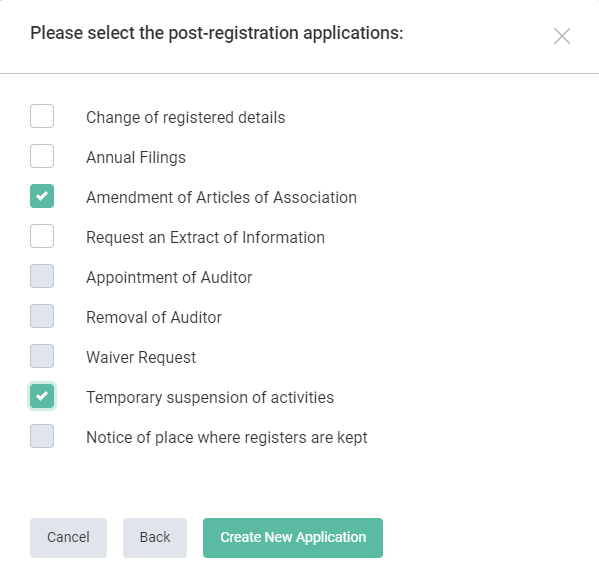
Step 5.
Applicant must select one or several of the available post-registration applications and press the button “Create new application”.