Guidance on signing the registration application using EDS/Digital ID by the Applicant
User guide describes the main steps for digital signature signing process for registration applications on the e-Residence Portal.
Below there is a step-by-step guide on how to sign the registration application using either Electronic Digital Signature (EDS) issued by the National Certification Authority of the Republic of Kazakhstan, or a Digital ID and the description of the most common mistakes – everything to help Applicants to electronically sign the application as quickly and simply as possible.
Step 1
Applicant logs in to the AIFC e-Residence portal and proceeds to creating a new company registration application. Applicant is asked to add a contact in Section 2 “Applicant Contact Details” through KYC (Know-Your-Customer procedure).
The individual who passes KYC verification in this section needs to sign the Application before submission using either Electronic Digital Signature (EDS) issued by the National Certification Authority of the Republic of Kazakhstan, or a Digital ID.
Important
- If Applicant is a resident of RoK then he/she can sign the application by EDS of an Individual issued by the National Certification Authority of the Republic of Kazakhstan;
- If Applicant is a non-resident of RoK then he/she can get a Digital ID signature for non-residents which can only be used on AIFC Self-Service (digitalresident.kz) portal.
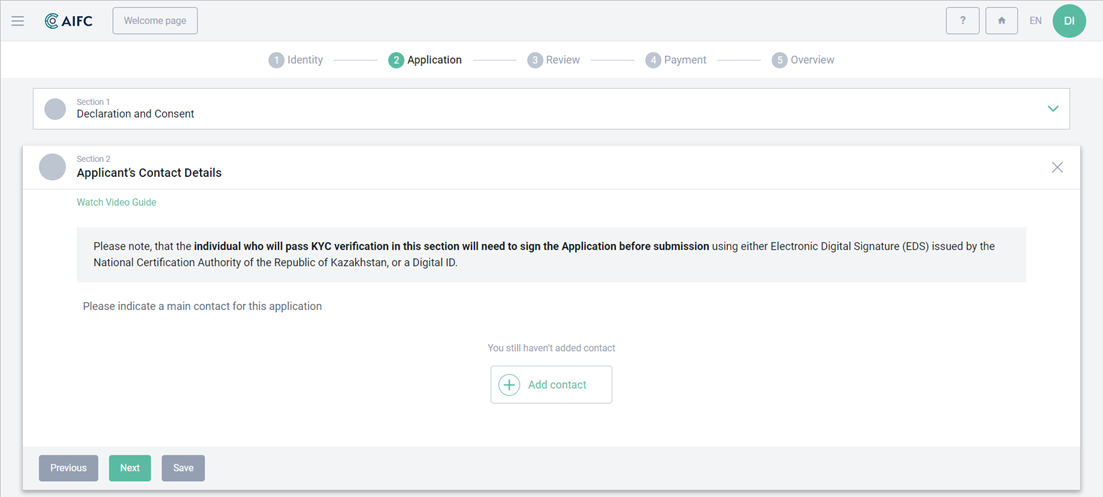 Figure 1. Applicant contact details section
Step 2
Applicant proceeds to completing all the sections of the registration application and clicks “Review” button.
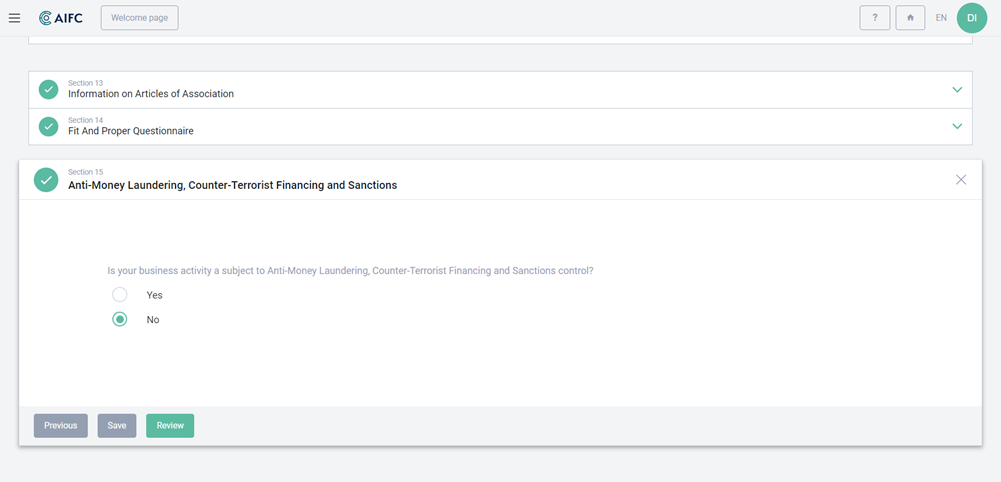 Figure 2. Review button
Step 3
Applicant is redirected to Review page and clicks “Preview Application Form” button.
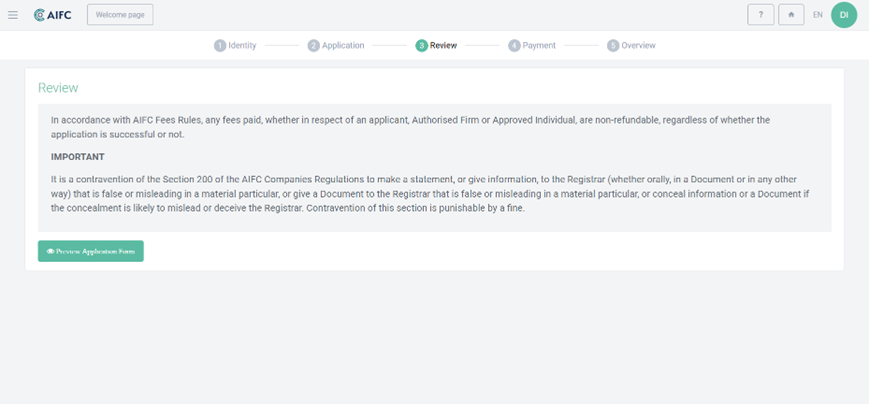 Figure 3. Review page
Step 4
Applicant checks the application data, confirms his/her agreement to send the data to AFSA and clicks “Sign” button. Applicant is presented with options: Sign using Electronic Digital Signature (EDS) or Sign using Digital ID.
If “Sign using Electronic Digital Signature” option is chosen Applicant proceeds to Step 5.
If “Sign using Digital ID” option is chosen Applicant proceeds to Step 7.
Important
- If Applicant is a resident of RoK then he/she can sign the application by EDS of an Individual issued by the National Certification Authority of the Republic of Kazakhstan;
- If Applicant is a non-resident of RoK then he/she can get a Digital ID signature for non-residents which can only be used on AIFC Self-Service (digitalresident.kz) portal.
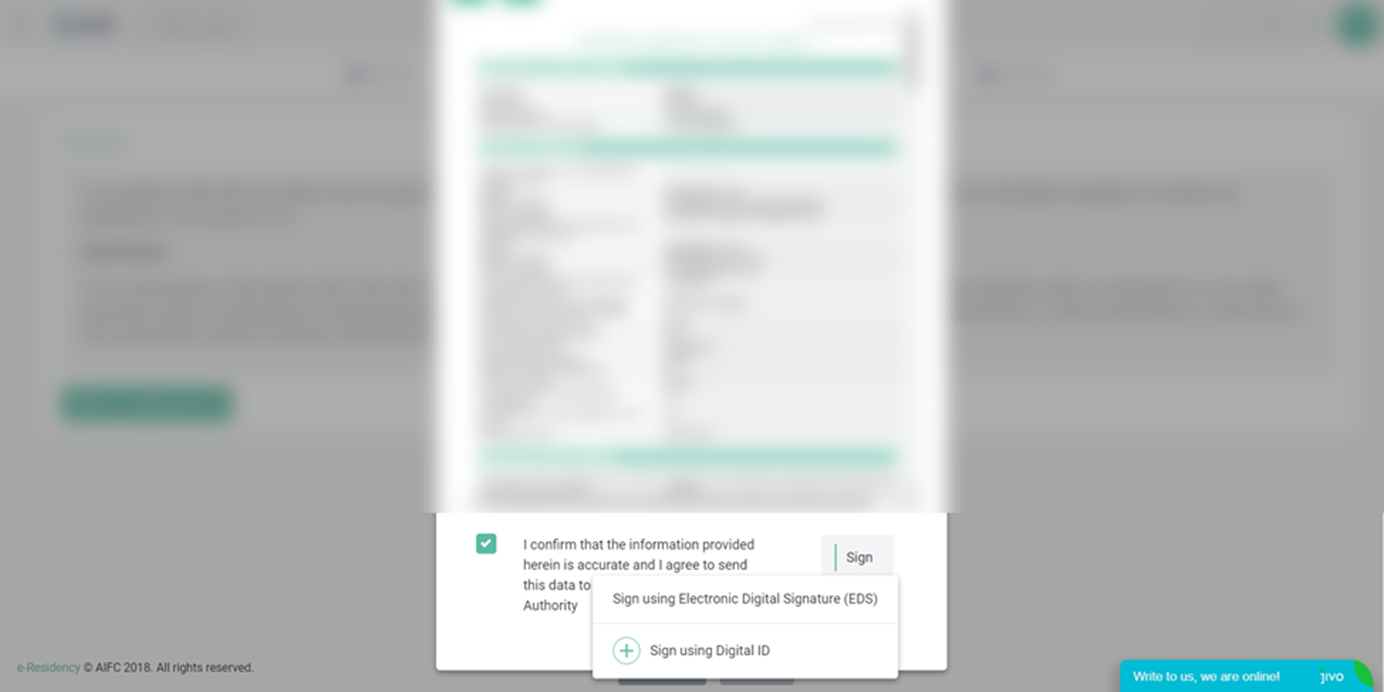 Figure 4. Review application form
Step 5
A pop-up window appears for signing using EDS. Applicant clicks on “Upload certificate” to browse for the EDS (certificate name for signing starts with RSA256.....) on the personal device, enters the EDS password and clicks “Sign” button.
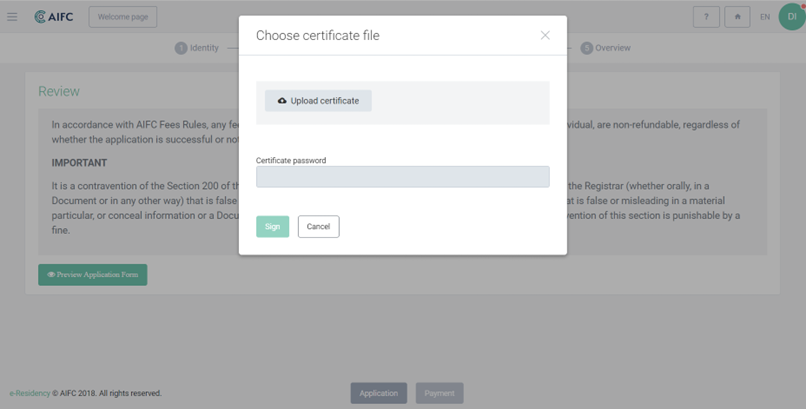 Figure 5. Signing using EDS page
Step 6
Upon successful signing of the application Applicant can download the file and proceed to Step 17 to complete the application process.
 Figure 6. Successfully signed with EDS page
Step 7
Applicant chooses one of the options for signing using Digital ID by clicking the appropriate button “Sign using Digital ID now” (if Applicant is the person who passed KYC in Section 2 of the application) or “Send e-mail to individual using Digital ID” (if an Individual who passed KYC in Section 2 is not the person who is actually filling out the application). In the second option Applicant uses the e-mail link to proceed with signing the application.
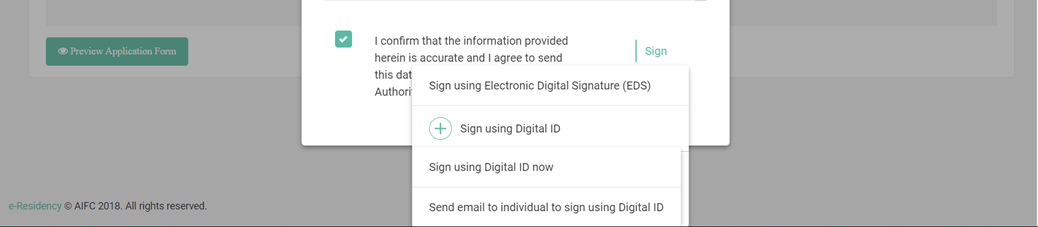 Figure 7. Sign using Digital ID options
Step 8
Applicant fills in the missing fields and clicks “Next” button.
Important
- Document details must correspond to the document used for KYC verification in Applicant Contact Details section in Step 1.
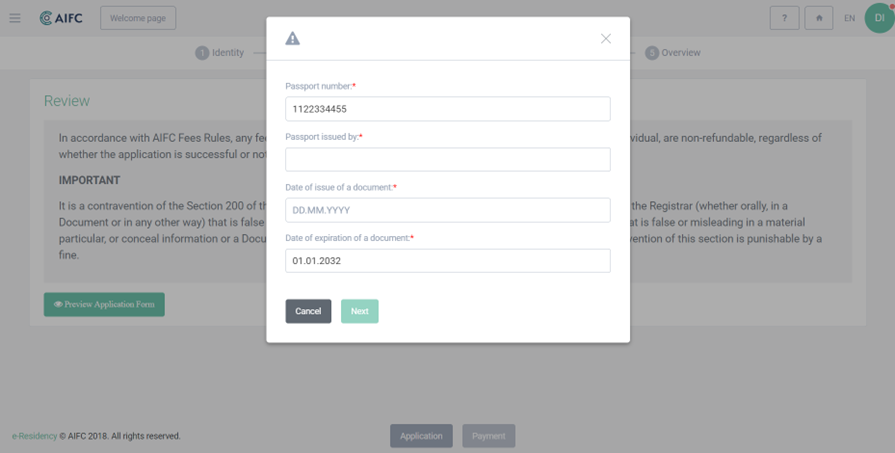 Figure 8. Filling in missing fields for Digital ID page
Step 9
Applicant is redirected to Digital ID page and follows instructions on the screen. First, Applicant needs to input a valid mobile phone number to receive an SMS code.
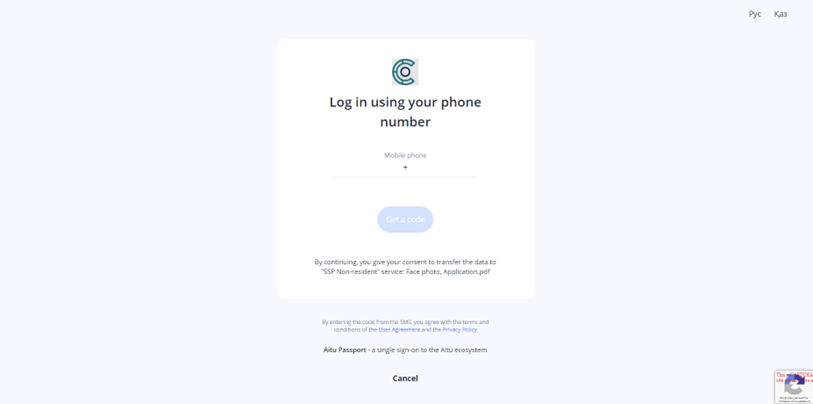 Figure 9. Digital ID login page
Step 10
User enters the verification code received via SMS and is redirected to the next stage.
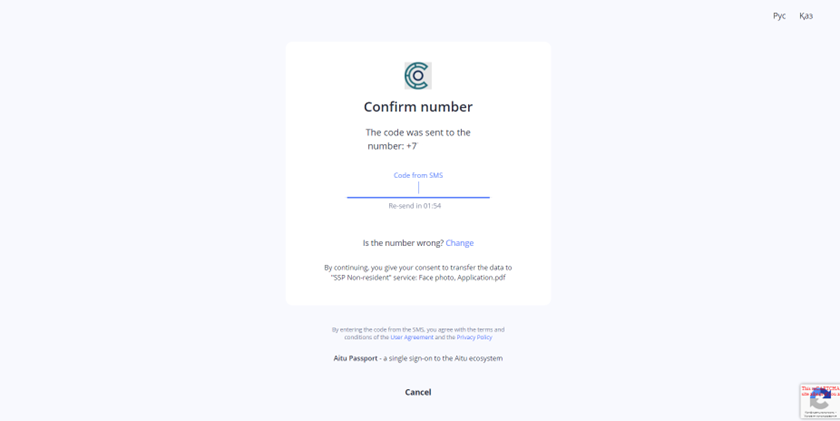 Figure 10. Digital ID number confirmation page
Step 11
User clicks “Start video verification” button and follows the instructions on the screen.
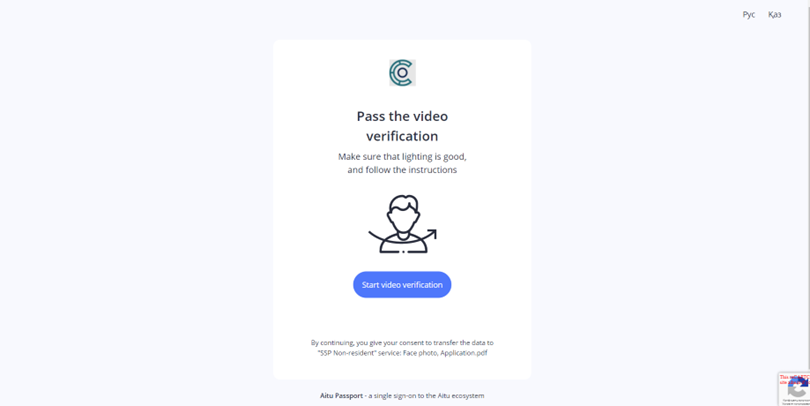 Figure 11. Digital ID video verification page
Step 12
Upon successful video verification user needs to click “Other document”.
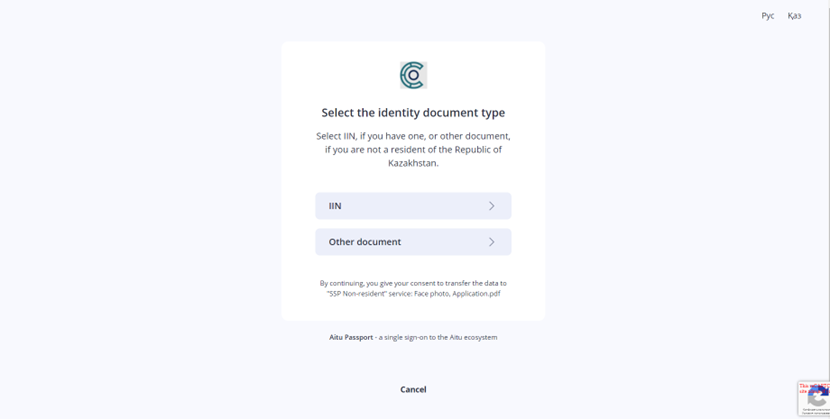 Figure 12. Digital ID select document page
Step 13
User inputs document number and clicks “Save and continue” button.
Important
- Document details must correspond to the document used for KYC verification in Applicant Contact Details section in Step 1.
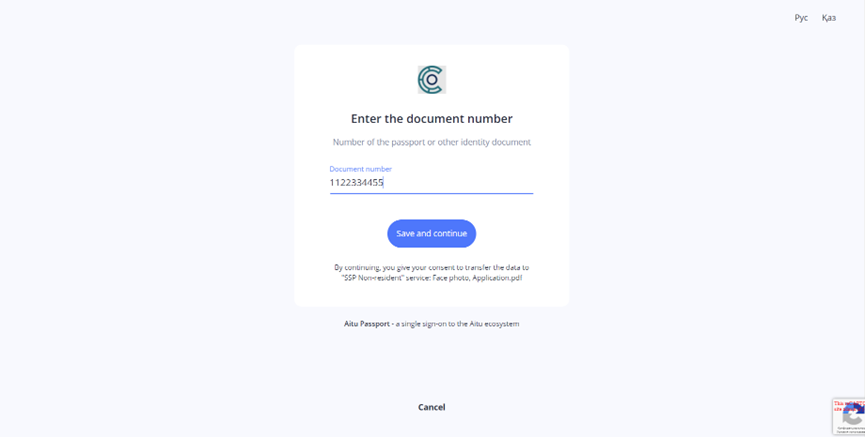 Figure 13. DIgital ID enter the document number page
Step 14
Applicant confirms his/her agreement to issue an electronic digital signature and sign the application and clicks “Sign and allow” button.
 Figure 14. Signing using Digital ID page
Step 15
Applicant sets a password for the electronic digital signature and clicks “Continue” button.
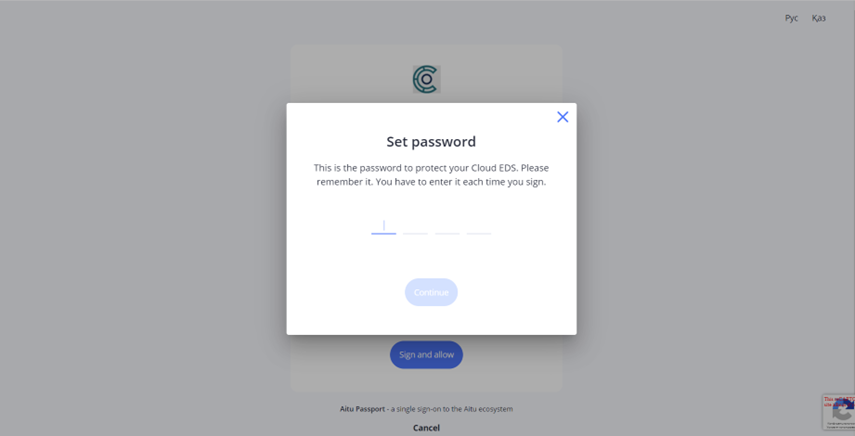 Figure 15. DIgital ID set password page
Step 16
Upon successful signing of the application Applicant can download the file and proceed to completing the application process by clicking “Back to portal” button.
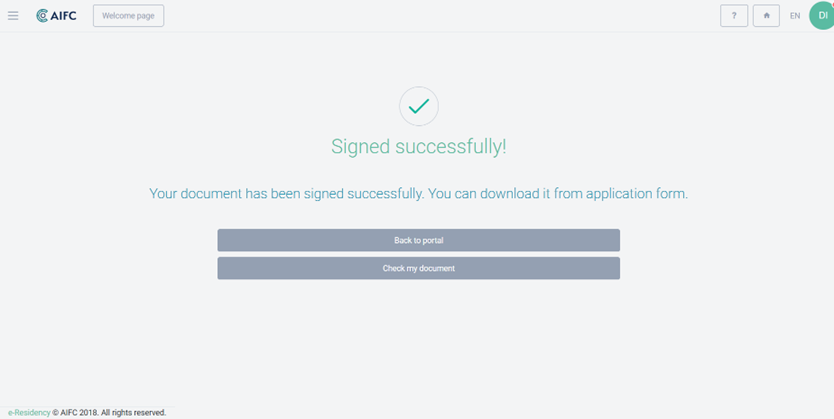 Figure 16. Successfully signed with Digital ID page
Step 17
Applicant proceeds to completing the application process
 Figure 17. Payer and Billing information